stickers: buy 3, get 1 free!
stickers: buy 3, get 1 free!
Tutorial :: Portable Potty Seat Case
Good news, everyone!
The Boy is now…
POTTY TRAINED.
I took a weekend to attend the Puyallup Sewing + Stitchery Expo (where I got to meet TULA PINK!), came back, and my amazing husband had got him all trained.
He still wears diapers to bed, but that’s Phase II.
So now when we’re out and about, we are no longer toting around diapers, wipes, and a changing pad (that all fits nicely into the Diaper + Wipe Clutch I developed just for those outings).
We’re actually back to lugging around the huge diaper bag, complete with extra pants, extra undies, wipes, and…
This portable, folding potty seat.
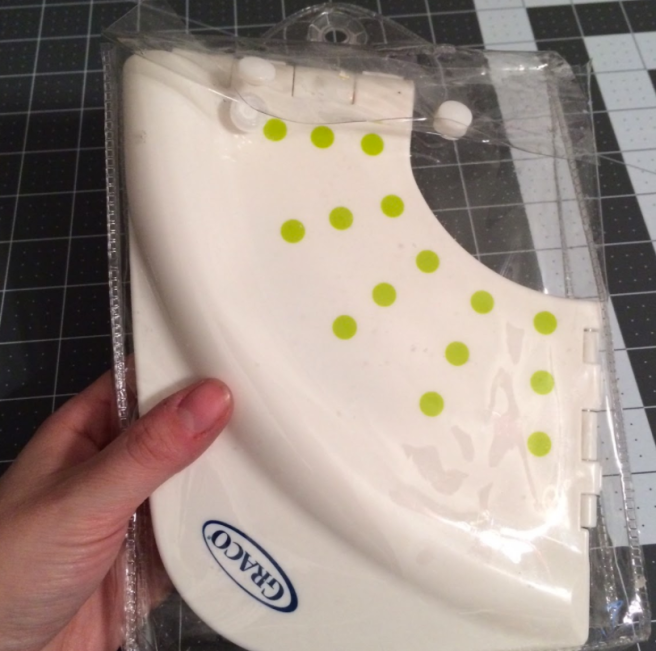
LOOK AT THAT KLASSY CASE.
Seriously, that seat folds up into quarters and has been a godsend. I know, I know, we could have done without it and just held him up, but that just opens the door to messes that I won’t detail here.
The only problem with this awesome folding potty seat is the case.
It’s clear.
It’s plastic.
It’s ugly.
So not only is the case hard to clean, but the case itself broadcasts to everyone at a Timbers match,
“You don’t really need to know, but we’re gonna go peeeeeeeee!”
That had to change.
So I made a case that’s a little more discreet.
A little more machine washable.
And shows off our pride for the Crimson + Grey.
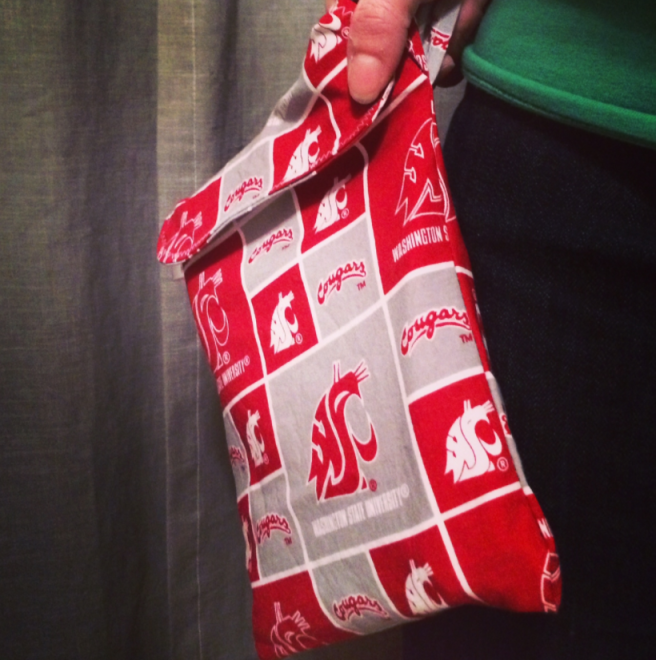
Portable Potty Seat Case
(fits Graco brand folding potty seats)
What you’ll need:
- A 1/4 yard of cotton fabric (pre-washed)
- 1 1/4 yard of PUL (polyurethane laminate)
- Coordinating thread
- Sew-in velcro (anywhere from 1/2″ to 1″ wide), at least 5″ long
- Rotary cutter and mat
- Wonder clips or paper clips
- Sewing machine
Cotton Fabric Cutting:
- Cut the exterior of the bag: 20.75″ by 7.75″. I ended up cutting my piece to 7.5″ at first, and it’s a tad too narrow to quickly slide in the seat.
- Cut the interior flap: 7.75″ by 3.5″
- Cut the wrist strap: 12″ x 3″
PUL Cutting:
Cut your PUL to measure 17.5″ by 7.75″.
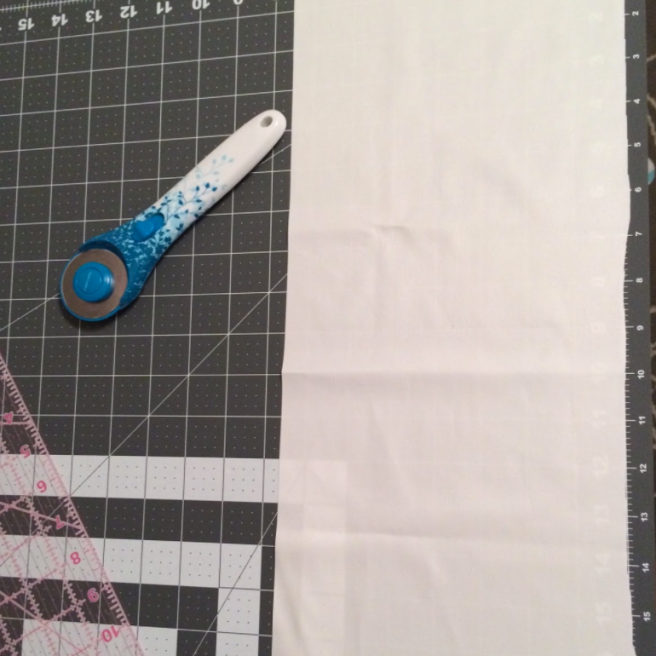
Fold the PUL in half, matching the shorter ends together, with the softer side facing out. Use the Wonder Clips to keep the shorter ends together, or use paper clips to keep ends together.
Why Wonder Clips or paper clips? The less pinning you do with PUL, the more water-resistant properties it maintains!
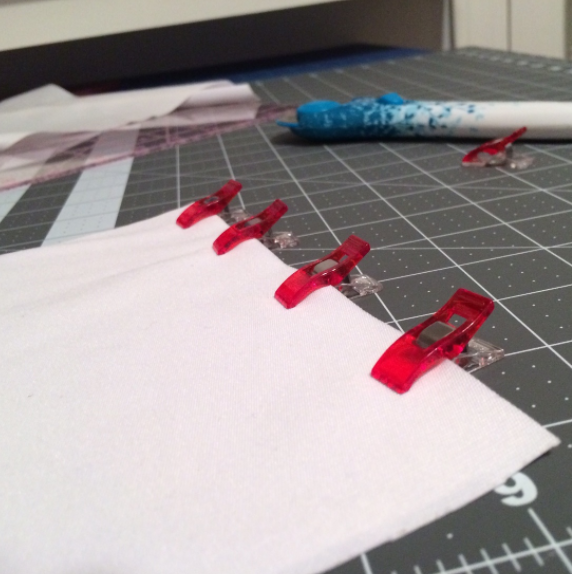
With a 1/4″ seam allowance, sew the sides together.
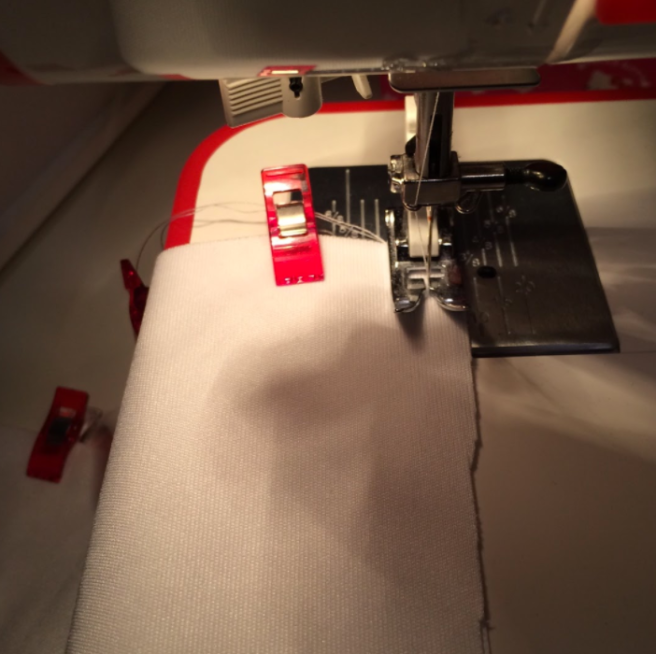
Don’t look at my shoddy edges of the PUL. 
Take the cotton fabric and determine the direction of the fabric (if it’s directional), and find which end will be the top flap.
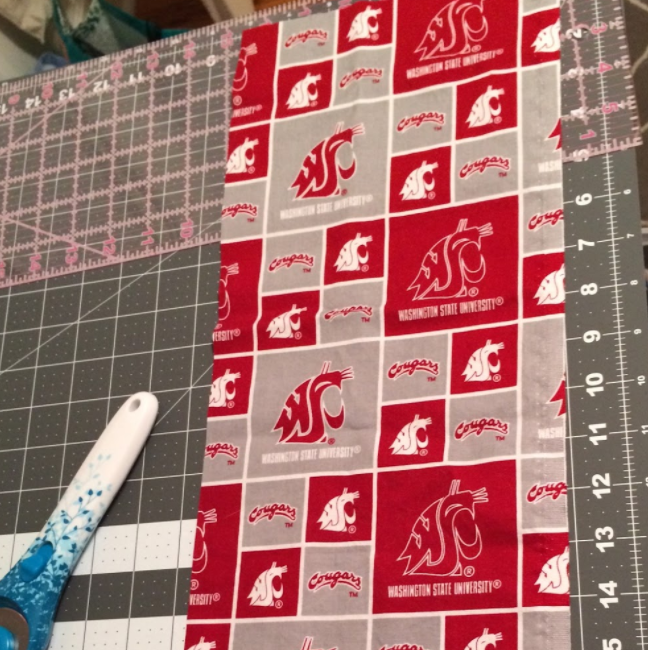
Darn directional Cougars.
Take a round object nearby (bowl, plate, or in my case, packaging tape!) and fit to the corners of the top of the cotton fabric. Trace around to create a rounded edge of the flap.
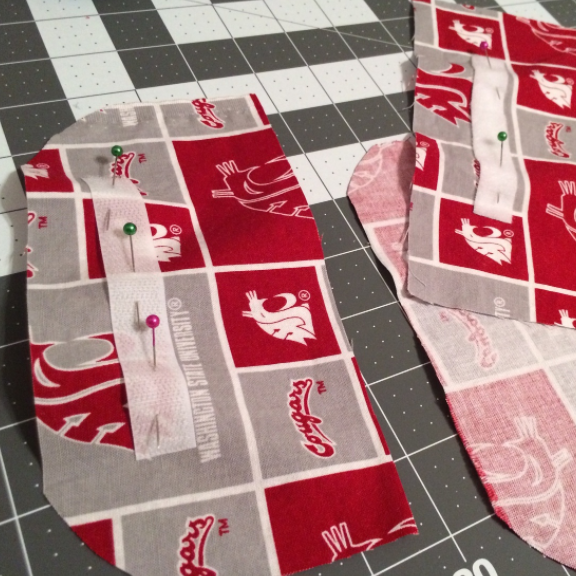
Cut the Velcro to your preferred length (mine was approximately 4″), pin to outside of front of cotton and underside of flap piece, about an inch down from the top. Stitch velcro onto right sides of cotton fabric.
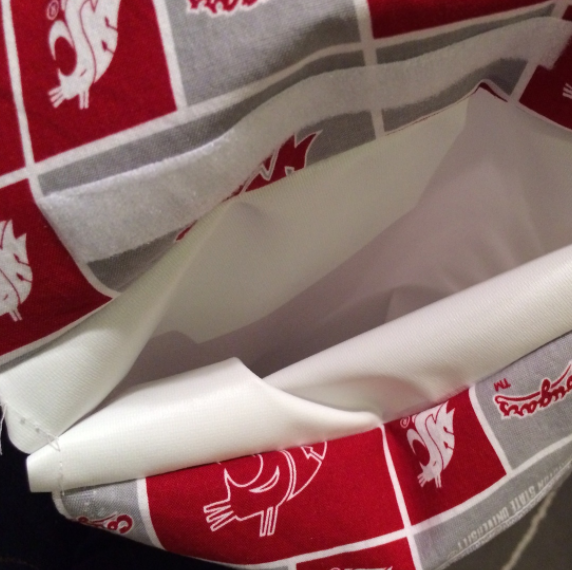
Flip the PUL bag out so the shiny side is out. Take the cotton interior flap and attach it right side to one side of the PUL bag (use Wonder Clips or paper clips to attach). Sew flap and PUL together at the top on one side.
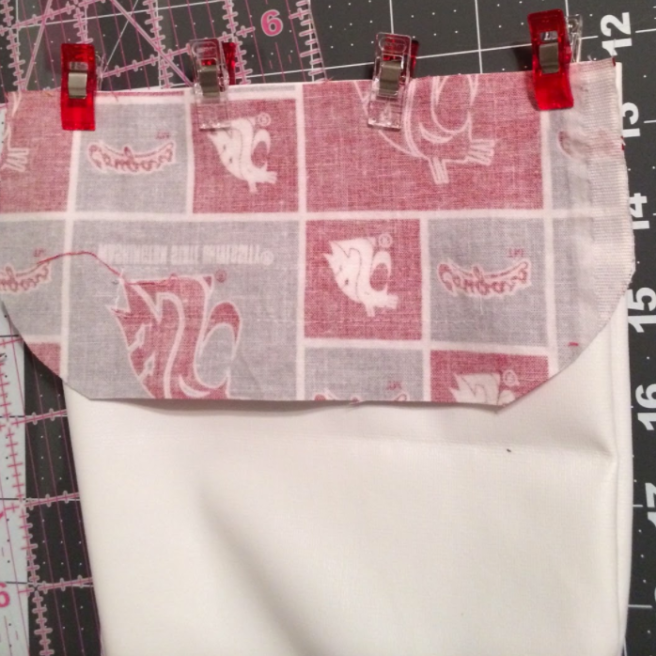
Take the cotton fabric with the velcro on the end and sew it right side to shiny PUL side together at the top. Flip PUL bag out so the shiny sides are on the inside.
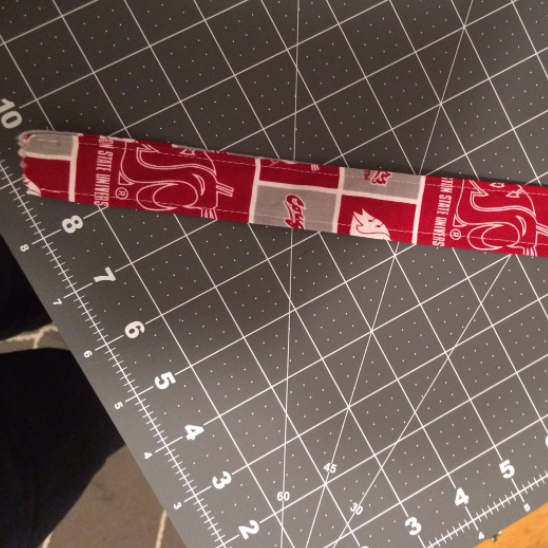
Make the wrist strap- fold the strap lengthwise, right sides together. Stitch together with a 1/4″ seam allowance. Turn right sides out with a strap turner or paper clip, press, and topstitch. No need to finish the shorter ends.
Let’s finish the cotton exterior, but not sew onto the PUL. Ensure the PUL interior is pulled above the cotton layer out of the way. Fold wrist strap in half and attach to side of cotton exterior. (ugh, that explanation was ugly. See photo below):
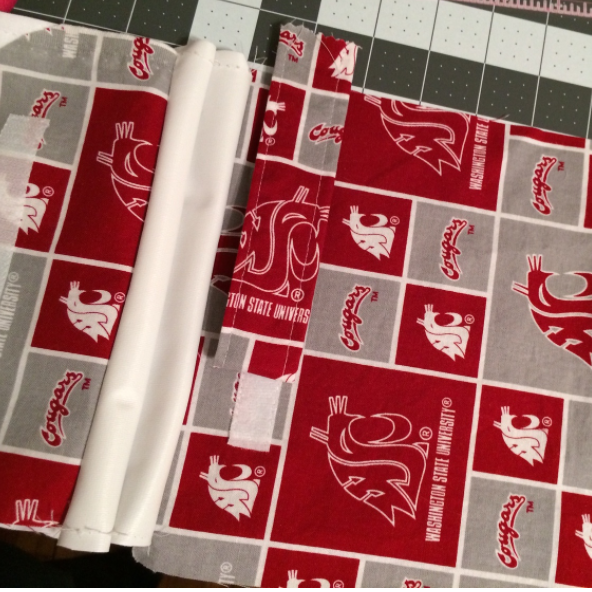
Flip the end of the cotton exterior to match with the interior cotton flap, right sides together.
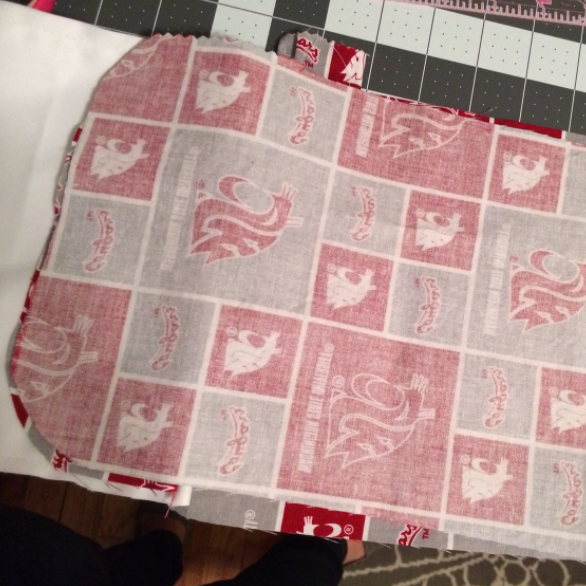
Pin (yes, you can pin this!) sides together, including flap, but leave a small 2″ opening at the straight part of the flap (pin or mark to indicate starting and stopping stitches.
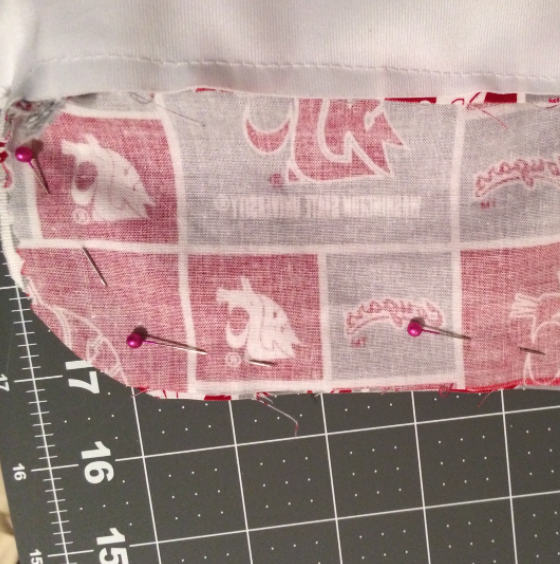
Sew that sucker together! Once sewn, use the opening to flip cotton exterior right sides out and stuff PUL bag into the cotton exterior.
Turn in open portion of flap and topstitch entire flap.
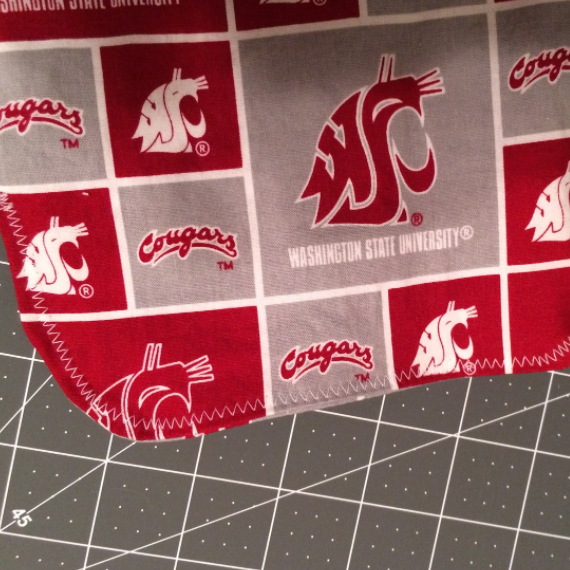
Toss the case into the dryer for 20 minutes to heat seal the holes made with the sewing needle.
Then…
Slide in your folding potty seat,
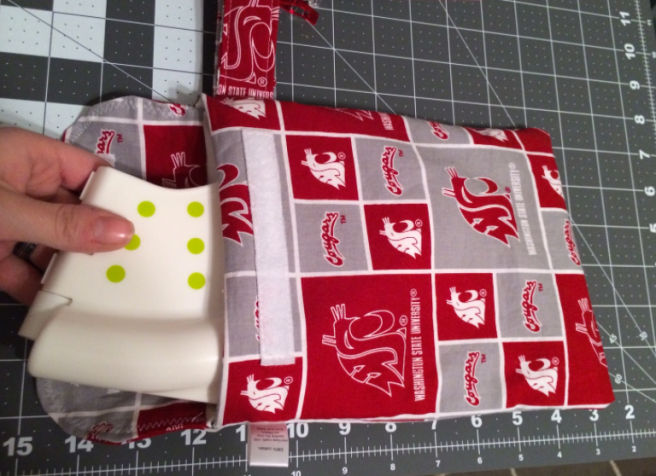
Close the flap, and you and your potty-trained wee one are ready for outings without announcing your trips to the potty in style!
Don’t want to make your own? I can make it for you! Shoot me a note!
Leave a comment
Also in Blog
About Holly
-

Hey there, I'm Holly Marsh, the illustrator/nerd running the show here at hollymarshmallow. I love to draw, and write, and I'm so grateful you're here to read the weird stuff that comes outta my brain sometimes.
Subscribe
Sign up to get the latest on sales, new releases and more …
Subscribe
Sign up to get the latest on sales, new releases and more …


